
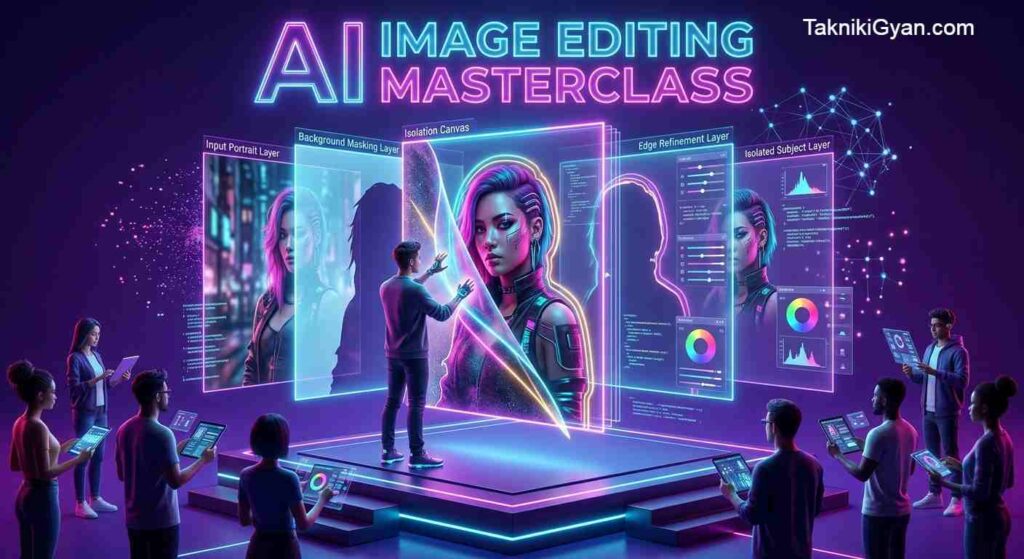
📸 How to Change Image Background Online for Free: Complete AI Masterclass (2026)
The Ultimate Guide to Professional Background Editing: Master AI Tools, Design Physics, and E-commerce Workflows.
Welcome to Takniki Gyan! ✋
In the visually driven digital landscape of 2026, compelling imagery is the core currency of communication. Whether you are scaling an e-commerce storefront, building a personal brand on LinkedIn, or designing high-converting marketing collaterals, a busy or unappealing background can immediately ruin an otherwise perfect shot. Your visual identity is often the first interaction a customer has with your brand.
Historically, isolating subjects required hours of painstaking lasso-tool selection and manual masking in heavy desktop software like Photoshop. Today, neural networks and machine learning algorithms have completely democratized high-end graphic design. This masterclass breaks down innovative, accessible, and completely free techniques to strip away unwanted backdrops and composite breathtaking new visuals in mere seconds.
We will cover everything from basic AI removal to professional-grade compositing, shadow rendering, and file optimization. Furthermore, through this comprehensive guide curated by TaknikiGyan.com, you will learn expert insider strategies to turn every raw snapshot into a studio-quality graphic asset without spending a single penny.
🚀 Masterclass Techniques & Expert Workflows
1. 🤖 Harnessing Next-Gen Neural Network Cutouts
Modern web-based AI tools do not just detect edges; they analyze depth, contrast, and focal planes. Platforms like Erase.bg, Remove.bg, and Photoroom use pre-trained vision models to instantly separate foreground subjects from chaotic backgrounds with sub-pixel precision. These tools utilize deep learning to recognize even the most complex subjects, including pets, jewelry, and mechanical parts.
2. 🎨 Mastering Multi-Layer Canvas Compositing in Canva
Canva provides an intuitive browser-based canvas where you can isolate your subject and drop it over thousands of curated design elements. By using their ‘Magic Studio’ features, you can combine your cutout with studio shadows, organic textures, or geometric shapes to build professional, ready-to-publish graphic assets that align perfectly with your brand identity.
3. 📱 Streamlining Product Catalogs via Photoroom AI
For merchants selling on Amazon, Shopify, or eBay, visual consistency is the key to high conversion rates. The Photoroom app automatically isolates product images and places them on realistic 3D-generated surfaces. It handles ambient studio lighting and natural contact shadows automatically, ensuring your storefront looks like it was photographed in a high-end studio.
4. 🍏 Executing Hardware-Level Cutouts on iOS Devices
Apple’s Apple Silicon chips leverage machine learning directly on your device. Long-pressing any subject inside the iOS Photos app lifts it from its environment instantly. This is a game-changer for content creators who need to move subjects into messaging apps, notes, or mobile editors on the go without relying on third-party cloud processing.
5. 🖌️ Leveraging Vector & Layer Masks in PicsArt
If you need granular control over your edits, PicsArt allows for layer-by-layer masking that mimics professional design software. You can paint over intricate areas manually, adjust brush edge softness for better blending, and layer dynamic background textures to create artistic surrealism or corporate-grade marketing visuals.
6. 💼 Standardizing Corporate Headshots for B2B Branding
A cluttered living room or office background often undermines professional credibility on platforms like LinkedIn. Swap informal backdrops for neutral, corporate-approved solid tones—such as slate gray, deep navy, or clean white. This simple swap significantly enhances your professional presence.
7. 💡 Synchronizing Environmental Lighting Geometry
The primary reason composited photos look “fake” is mismatched illumination. If your original subject was photographed under warm, directional sunlight, ensure your new background shares the same color temperature and light angle. This attention to detail is what separates amateur edits from cinematic, believable composites.
8. 🔍 Eliminating Halo Effects with Edge Feathering
A common artifact in AI extractions is the harsh white outline or “halo” around clothes and fine hair. Applying a subtle 1-to-2-pixel feathering or edge-blur filter smooths out these harsh boundary lines, blending the subject seamlessly into its new space and removing the digital ‘cutout’ look.
9. 🌫️ Simulating Shallow Depth-of-Field (Bokeh)
You don’t always need to erase a backdrop to improve your photo. Utilizing selective lens-blur tools in mobile apps like Snapseed or Lightroom softens background distractions, creating a professional DSLR-style aperture effect. This naturally draws the viewer’s eyes directly to the subject by isolating the depth.
10. 🪄 Deploying Generative AI Prompts via Adobe Express
Adobe Express now allows creators to prompt AI with text descriptions for high-quality background generation. Instead of scouring stock libraries, simply type a specific prompt like “minimalist Scandinavian interior with soft morning sunlight” to generate a unique, context-aware backdrop that matches your vision perfectly.
11. 🚗 Creating High-Conversion E-Commerce Mockups
Raw product photos taken on kitchen tables rarely convert browsers into buyers. Isolate your merchandise and place it against clean marble slabs, wooden countertops, or pure white studio sweeps. This process instantly boosts the perceived brand value and makes your product look premium to potential buyers.
12. ✂️ Refining Complex Textures & Transparency Manually
Automatic AI often struggles with translucent objects like glassware, veils, or fine curly hair. Do not fear manual erasure tools. Use them with reduced opacity settings to delicately brush away background bleeding, ensuring you don’t destroy the natural transparency of the subject.
13. 🌐 Sourcing High-Resolution Royalty-Free Backdrops
Never settle for low-resolution images from search engines that might lead to copyright issues. Utilize reputable platforms like Unsplash, Pexels, or Pixabay to source crisp, commercially licensed high-resolution photography for all your background replacements.
14. 🎨 Harmonizing Visuals using Global Color Grading
When merging two separate photos, their color profiles rarely match. Always apply a universal color grade, photo filter, or LUT (Look-Up Table) over the final composite. Normalizing tone, saturation, and contrast ties both layers together into a singular, believable photograph.
15. 📢 Crafting High-Impact Social Media Visuals
Attention spans on feeds are measured in milliseconds. Elevate your personal brand portraits by replacing bland walls with high-contrast color blocks, vibrant neon gradients, or bold geometric outlines that command immediate visual attention on mobile screens.
16. ⚡ Preventing Compression Quality Loss
Online image processors frequently downsample image resolution during export. Always double-check your export settings to save files in uncompressed formats (like PNG or high-bitrate JPEG) to ensure your visuals remain sharp on modern high-DPI Retina displays.
17. 🚫 Bypassing Intrusive Watermarks
Many free online editors slap branded watermarks across your hard work. Rely on clean, professional-grade web utilities like Canva Free, Adobe Express, or open-source editors like GIMP to export high-quality imagery without any distracting, unwanted branding.
18. 💾 Strategic Format Selection: PNG vs. JPEG
Selecting the right file type saves storage and improves load times. Export as a PNG if you need a transparent backdrop for future graphic layouts, overlaying, or web design. Save as a JPEG only once the background is fully integrated and you want to reduce file size.
19. 🛠️ Speeding Up Workflows with Browser Add-ons
For power users handling high volumes of media, installing browser extensions like Remove.bg for Chrome allows one-click background stripping directly from web pages, effectively bypassing the manual downloading and uploading process altogether.
20. 🧹 Practicing Non-Destructive Editing Workflows
Never overwrite your original camera file. Always duplicate raw assets before editing and work with adjustable layer masks. This non-destructive strategy ensures you can always revert changes or experiment with alternative backdrops without permanently destroying your source pixels.
21. 🌟 तकनीकज्ञान.com की विशेष सलाह: एआई कटआउट टूल्स का स्मार्ट उपयोग
तकनीकज्ञान.com (TaknikiGyan.com) की टीम की तरफ से यह महत्वपूर्ण सलाह है कि किसी भी ऑनलाइन ऑटोमेटेड टूल पर पूरी तरह आंख मूंदकर भरोसा न करें। जब आप किसी कमर्शियल प्रोजेक्ट या क्लाइंट वर्क के लिए फोटो एडिट कर रहे हों, तो एआई द्वारा काटे गए किनारों (Edges) को एक बार ज़ूम करके जरूर चेक करें। थोड़ा सा मैनुअल टच-अप आपके साधारण डिज़ाइन को भी एकदम प्रीमियम और परफेक्ट बना देता है।
22. 🎯 तकनीकज्ञान.com प्रो-टिप: क्लाउड स्टोरेज और बैकअप मैनेजमेंट
तकनीकज्ञान.com के अनुभवी डिज़ाइनर्स के अनुसार, जब आप बड़ी मात्रा में हाई-रेजोल्यूशन इमेजेस को एडिट और एक्सपोर्ट करते हैं, तो अपने सोर्स फाइल्स और पीएनजी कटआउट्स को हमेशा गूगल ड्राइव या किसी सेफ क्लाउड स्टोरेज पर सिंक करके रखें। इससे आपका डेटा कभी डिलीट नहीं होता और आप किसी भी डिवाइस से अपने प्रोजेक्ट को तुरंत एक्सेस कर सकते हैं।
💡 The Golden Rule of Realistic Compositing
“Realism lives in the shadows. Objects in the physical world interact with surfaces by casting ambient occlusion shadows where they touch the ground. When placing a subject on a new background, manually brush in a soft, low-opacity dark shadow directly beneath the base contact points. This small step physically anchors your subject to the scene, making it feel grounded rather than ‘floating’ on top.”
❓ Frequently Asked Questions (FAQs)
Q1. Can AI background changers process complex images without manual fine-tuning?
Ans: Modern vision models handle standard portraits and clear product shots flawlessly. However, images with low contrast between the subject and background, or complex transparent textures (like glass or fine hair), still benefit from minor manual mask touch-ups.
Q2. Are online AI background removal tools safe for confidential or private photos?
Ans: Reputable platforms (like Adobe Express, Canva, or Remove.bg) encrypt uploaded data and automatically purge files from their servers within a few hours. However, as a best practice, avoid uploading sensitive personal documents to unverified third-party websites.
Q3. Which file format preserves image transparency best for web design?
Ans: PNG (Portable Network Graphics) is the industry standard for transparent images because it supports alpha channels, allowing full background transparency without any loss in image quality.
Q4. Why does my cutout photo look “fake” even after removing the background?
Ans: Visual mismatch usually occurs due to three factors: mismatched light direction, inconsistent shadow placement, or overly sharp cutout edges. Blurring the cutout edges slightly and matching the color temperature of both layers fixes this inconsistency instantly.
Q5. Is it possible to use these tools on older mobile devices?
Ans: Yes, because most of these tools are cloud-based and process the images on high-end servers, even older smartphones can access and use these powerful AI tools via a standard web browser.
🎯 Executive Summary & Conclusion
Transforming an image background is no longer a technical barrier reserved for digital artists; it is now an essential, accessible skill for anyone with a browser or smartphone. By leveraging cutting-edge AI utilities alongside foundational design principles like light synchronization and shadow placement, you can elevate raw snapshots into polished, commercial-grade imagery.
Whether you are an entrepreneur looking to boost product sales, a student creating a project, or a professional refining your digital footprint, these techniques provide a comprehensive roadmap for visual excellence. Pick the tool that aligns with your current workflow, respect the physics of light and shadow, and turn your visual ideas into captivating, high-impact realities today!
📱 Connect With Us for More Tech Tips!
Stay updated with the latest AI tutorials, blogging tips, and digital guides by following our official social media channels:
- ✅ Facebook Page: Takniki Gyan Official Facebook Page – Follow for weekly updates.
- ✅ Instagram: @TaknikiGyan_Official – Daily tech hacks and reels.
- ✅ YouTube Channel: Takniki Gyan YouTube Channel – Subscribe for full AI masterclass tutorials.
Visuals are the bridge between your brand and your audience. Master the craft, stay consistent, and keep creating! 🚀